{"product":{"productId":"agid.925","price":141.52,"name":"RECESSED HANDLE PLUG-IN, FORM:A,L1=115, L=100, H=90, ALUMINIUM NATURALANODISED, COMP:POLYAMIDE"},"currency":"SEK"}
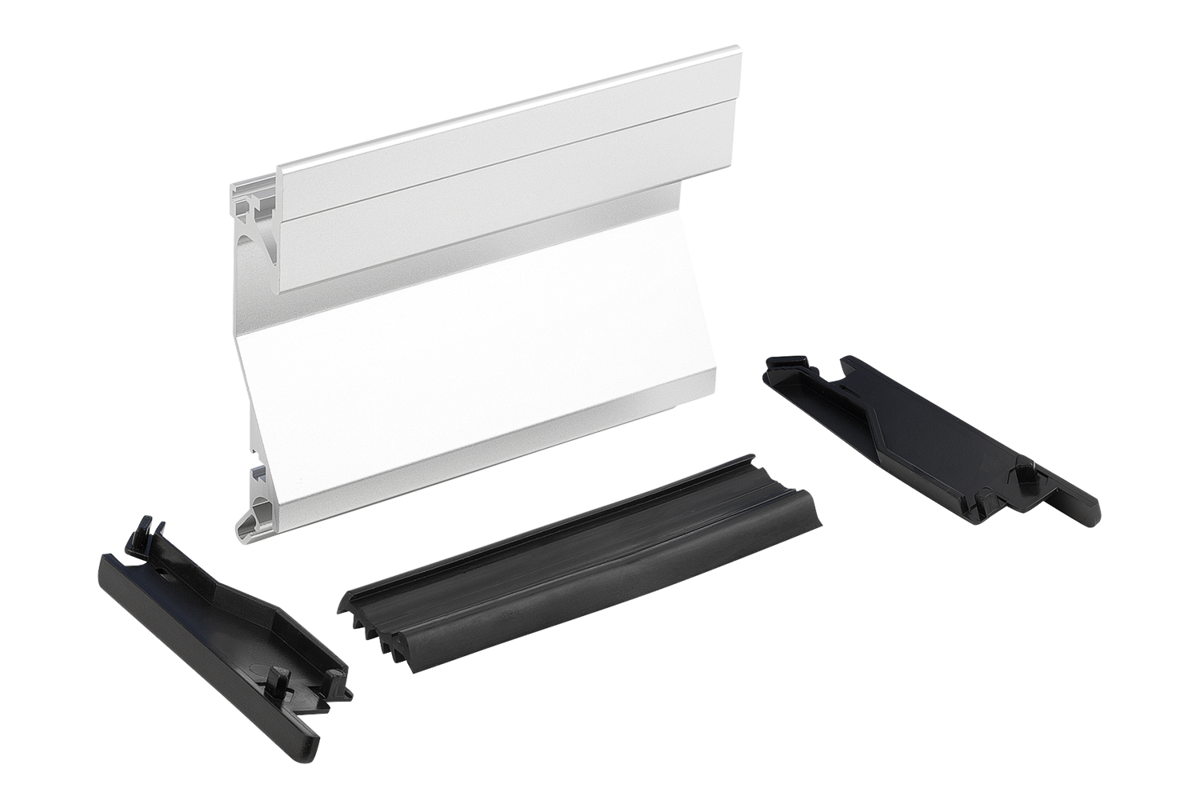

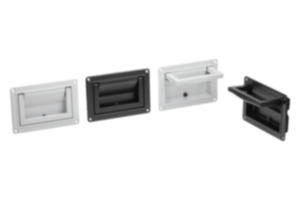
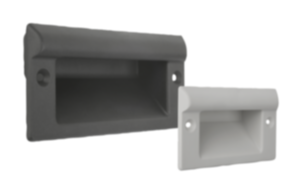
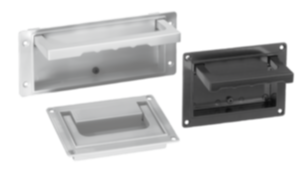
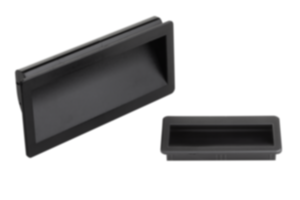
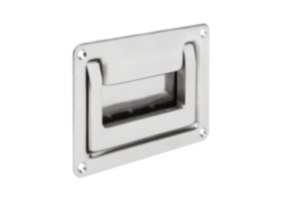
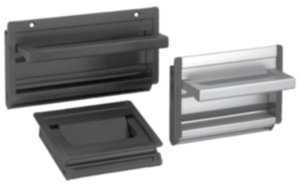
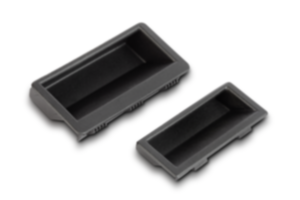
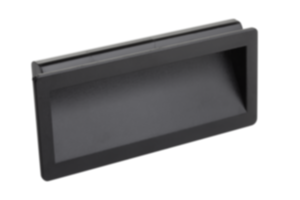
Recessed handle
aluminium
natural
anodised
- Retaining element to open and close lids, panels and hoods
- Application fields: machine and plant construction, toolmaking, furniture industry, rehabilitation and medical technology
- Suitable for installing in standard 19-inch systems
- Form A: mounting with rubber profile
Sales unit
kr141.52 / pcs.
plus sales tax
Added to your shopping cart
Designation
Recessed handle
Version 2
plug-in
Form
A
Main
material
aluminium
Surface finish
body
anodised
Main
colour
natural
Component
material
polyamide
H=Height
90
L1= length
115
L=installed length
100
Load
capacity
N
500
Mounting
cutout
104 x 73
T
19,5
~ CONFLICT MINERALS 3TG status
no 3TG content
~ CP65 substance 2 cancer
Soots, tars, and mineral oils
~ PFAS free?
Yes
~ REACH SVHC-free?
Yes
~ RoHS conformity
Yes, without exemption
~ TSCA 6(H) conformity
Yes
Description
Material
Tray handle in aluminium profile, end caps polyamide;
form A: mounting by rubber insert
form A: mounting by rubber insert
Version
Handle glass-bead blasted, satin finish and anodised black or natural colour.
Rubber profile black.
Fastening screws galvanised.
Rubber profile black.
Fastening screws galvanised.
Note
The Tray Handles form A can be used without screw mounting with sheet strengths of 1-2.5 mm. Two rubber inserts ensure absolutely firm mounting.
Two cross-slots offset by 90° for M4 screws allow earth/ground connection and can serve as a mounting aid for additional add-on parts.
Two cross-slots offset by 90° for M4 screws allow earth/ground connection and can serve as a mounting aid for additional add-on parts.
Assembly
After fitting the lower rubber profile, press the two side caps onto the handle. Next press the handle over the lower edge of the mounting cutout at a 45° angle and then push it up against the housing panel.
Now, depending on which type is being used, push the 2nd rubber profile into the upper groove or fix in place with 2 countersunk screws.
Now, depending on which type is being used, push the 2nd rubber profile into the upper groove or fix in place with 2 countersunk screws.
Important note on downloading CAD models
You must log in before you can download our CAD models. If you have not yet created an account, please register under "My account" (right-hand side of the screen) and follow the instructions.
Discover our product range